2024 Stephanie Saephan 8/25/24 2024 Stephanie Saephan 8/25/24 Authenticating AGOL for use in QGIS - Part 2 Read More 2024 Stephanie Saephan 8/22/24 2024 Stephanie Saephan 8/22/24 Authenticating AGOL For Use In QGIS - Part 1 Read More 2024 Stephanie Saephan 5/20/24 2024 Stephanie Saephan 5/20/24 Converting KMZ With HTML Popup Info to GIS Layer Attributes Read More 2023 Stephanie Saephan 3/12/23 2023 Stephanie Saephan 3/12/23 How to incorporate 3D models into a 3D Scene in QGIS using QGIS2threejs Read More 2022 Stephanie Saephan 6/17/22 2022 Stephanie Saephan 6/17/22 Georeferencing CAD DXF With QGIS Read More 2022 Stephanie Saephan 4/12/22 2022 Stephanie Saephan 4/12/22 Connecting to Google Cloud Storage in ArcGIS Pro Read More Older Posts Subscribe Sign up with your email address to receive blog post updates. First Name Last Name Email Address Sign Up We respect your privacy. Thank you for subscribing to open.gis.lab.
2024 Stephanie Saephan 8/25/24 2024 Stephanie Saephan 8/25/24 Authenticating AGOL for use in QGIS - Part 2 Read More
2024 Stephanie Saephan 8/22/24 2024 Stephanie Saephan 8/22/24 Authenticating AGOL For Use In QGIS - Part 1 Read More
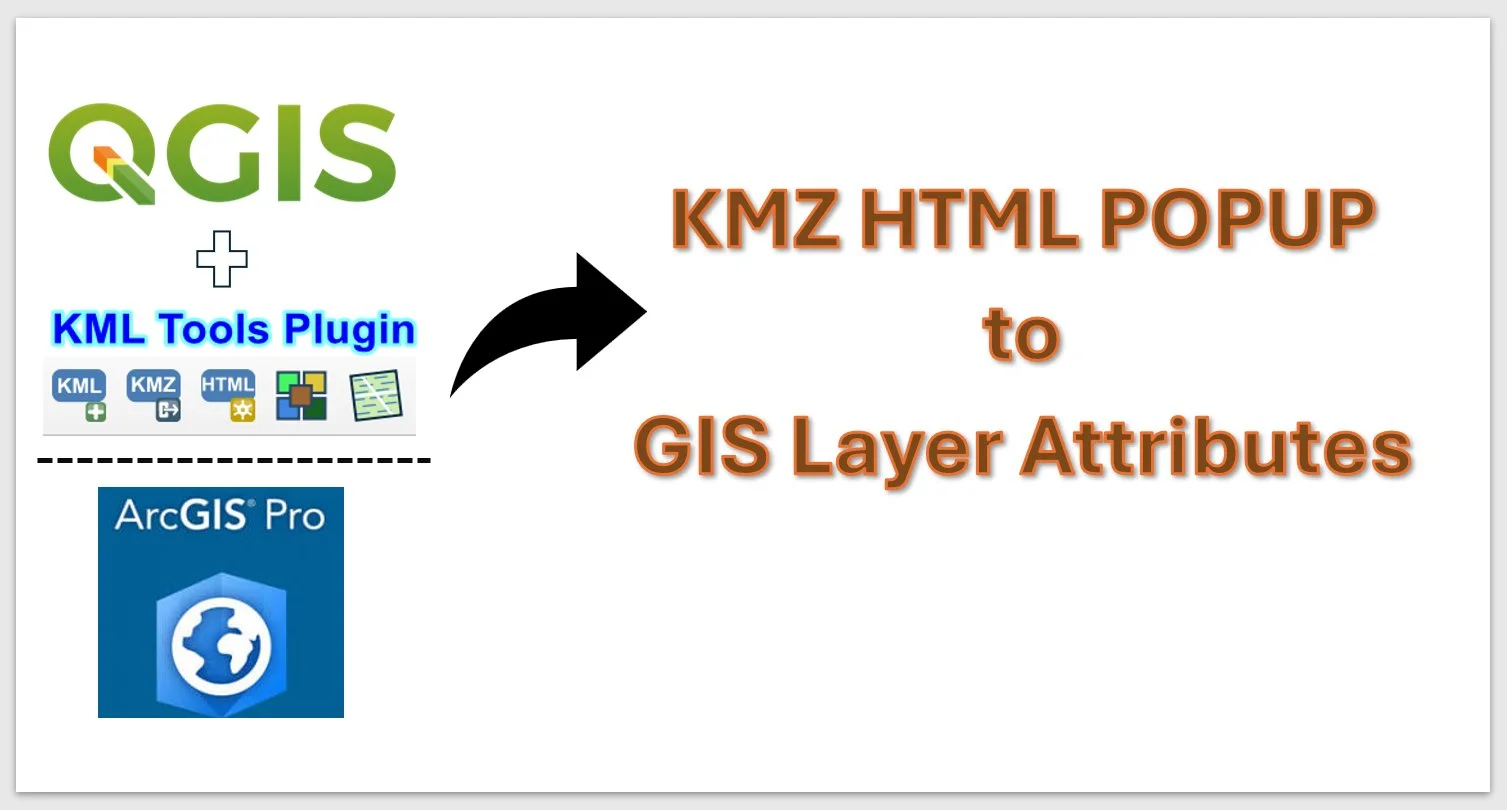
2024 Stephanie Saephan 5/20/24 2024 Stephanie Saephan 5/20/24 Converting KMZ With HTML Popup Info to GIS Layer Attributes Read More
2023 Stephanie Saephan 3/12/23 2023 Stephanie Saephan 3/12/23 How to incorporate 3D models into a 3D Scene in QGIS using QGIS2threejs Read More
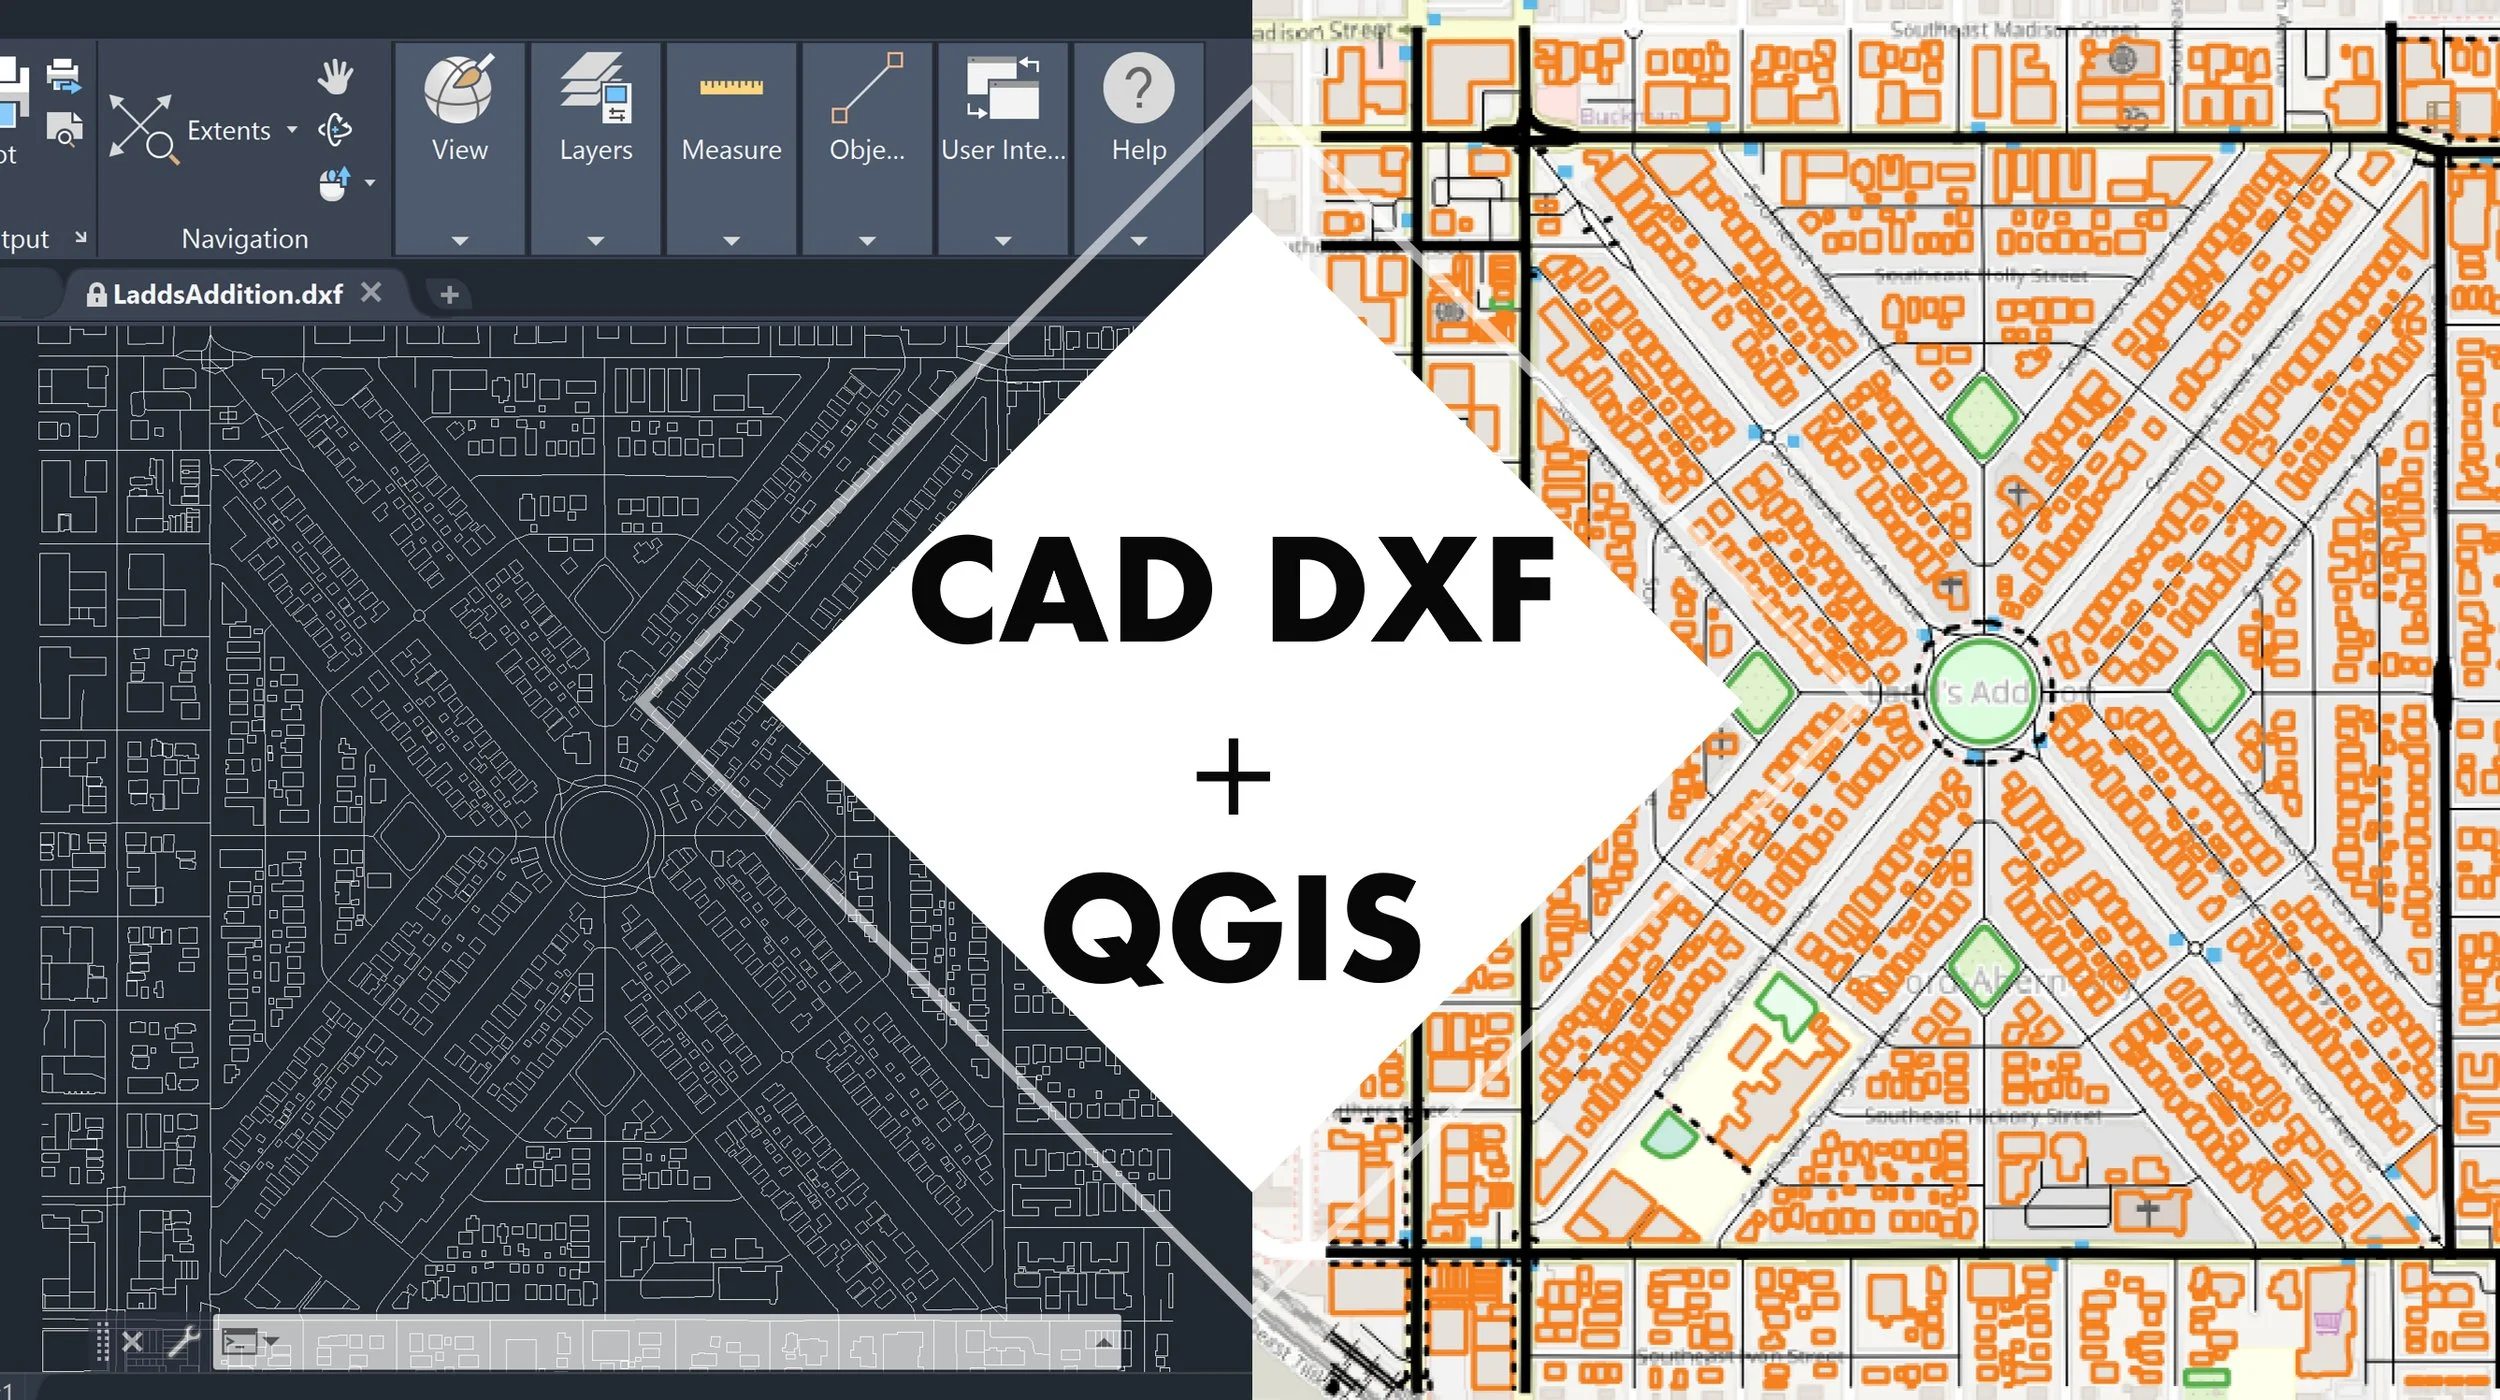
2022 Stephanie Saephan 6/17/22 2022 Stephanie Saephan 6/17/22 Georeferencing CAD DXF With QGIS Read More
2022 Stephanie Saephan 4/12/22 2022 Stephanie Saephan 4/12/22 Connecting to Google Cloud Storage in ArcGIS Pro Read More