By now I think everyone has heard of Leaflet. I've been playing around with it on and off over the last year. For this post, I thought I'd write about a simple Leaflet map example, using Leaflet and ESRI Leaflet plugin. I am not a coding expert by any means, just someone who likes to learn, so I try to annotate/comment in my code as much as I can. This post is not a step-by-step guide in creating a Leaflet Maps but rather comments and notes on what I've learned in the process of using/learning Leaflet. However, feel free to download the source files and use it however you like.
The Leaflet example uses several plugins and calls layers from the Hawaii Statewide GIS Program's ArcGIS REST service and the Pacific Islands Ocean Observing System (PacIOOS) Geoserver. You can view and download the source files on my GitHub account and also view the demonstration site as well.
Demo Web Map: https://stephsaephan.github.io/leaflet-map-example/
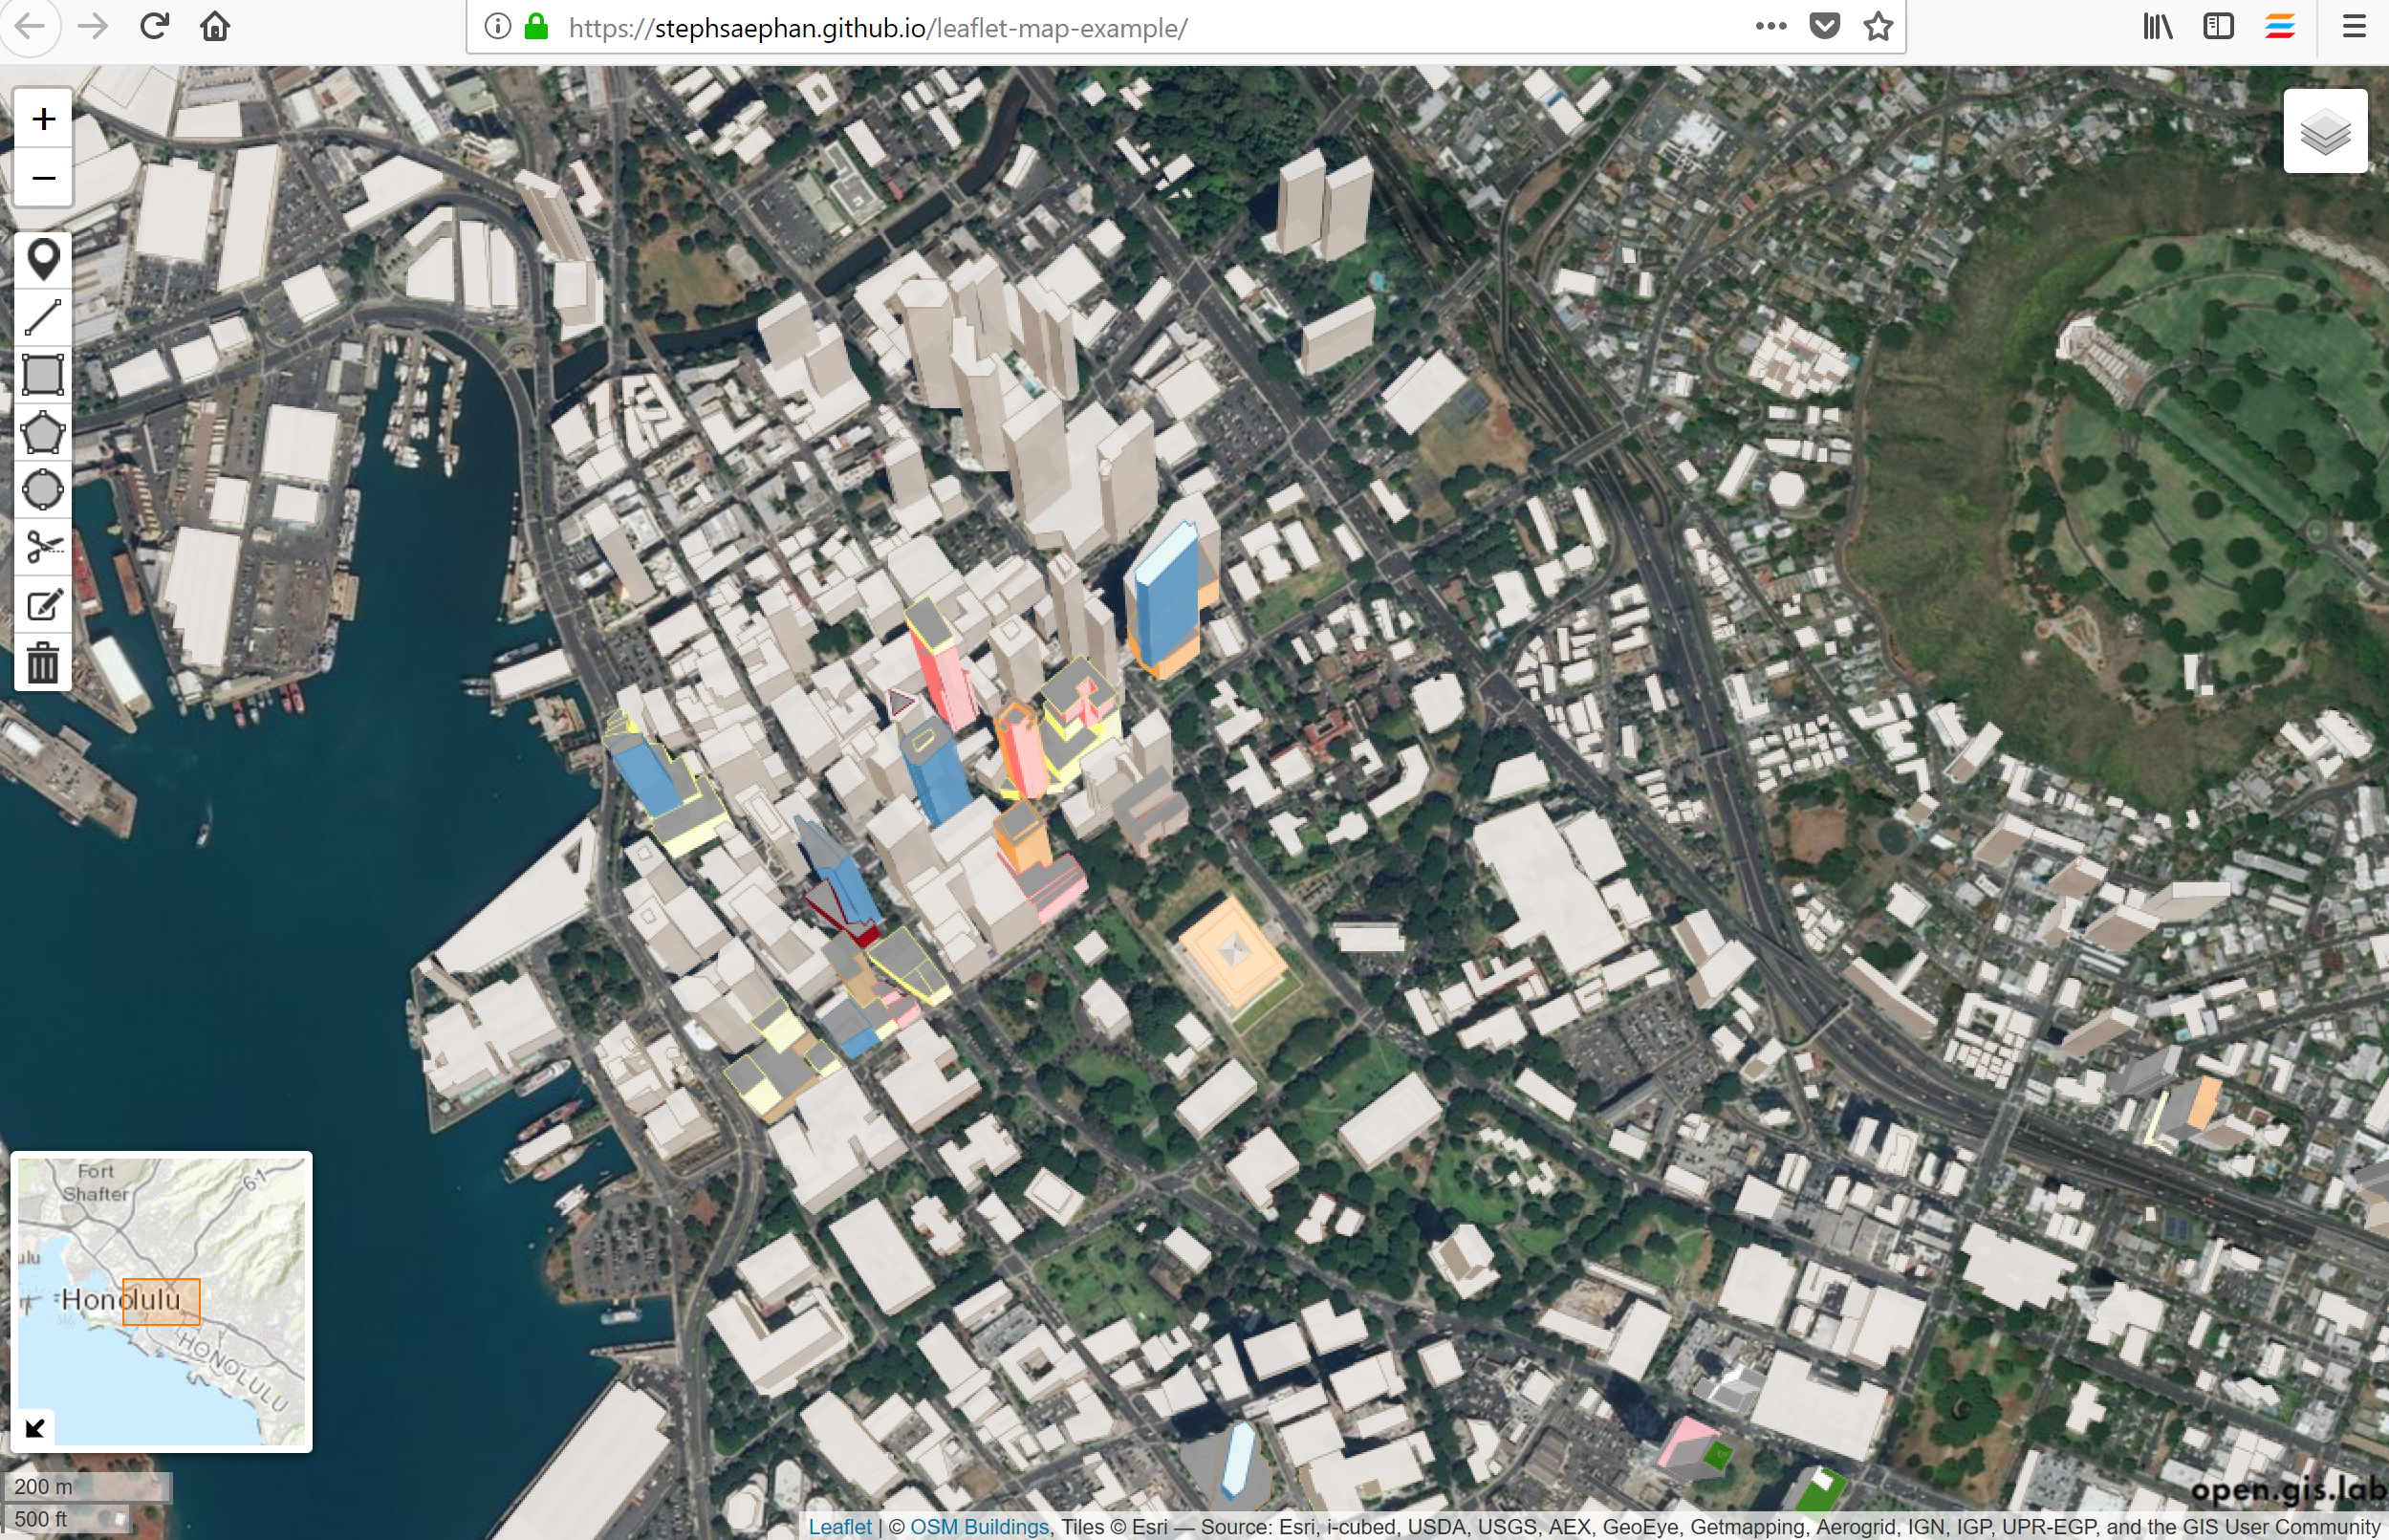
For the demo web map all of the data layers are turned off by default with exception of a basemap. I also include OSM 2.5D builidngs to the map as well.
Source files: https://github.com/StephSaephan/leaflet-map-example
3 Lessons I Learned:
plugins
Not all plugins will work well together, even if they come from the same source. Case in point, ESRI Render Plugin will render layers using the default symbology as defined by ArcGIS REST service. This plugin though doesn't currently work with the ESRI Cluster Plugin
Legends in Leaflet
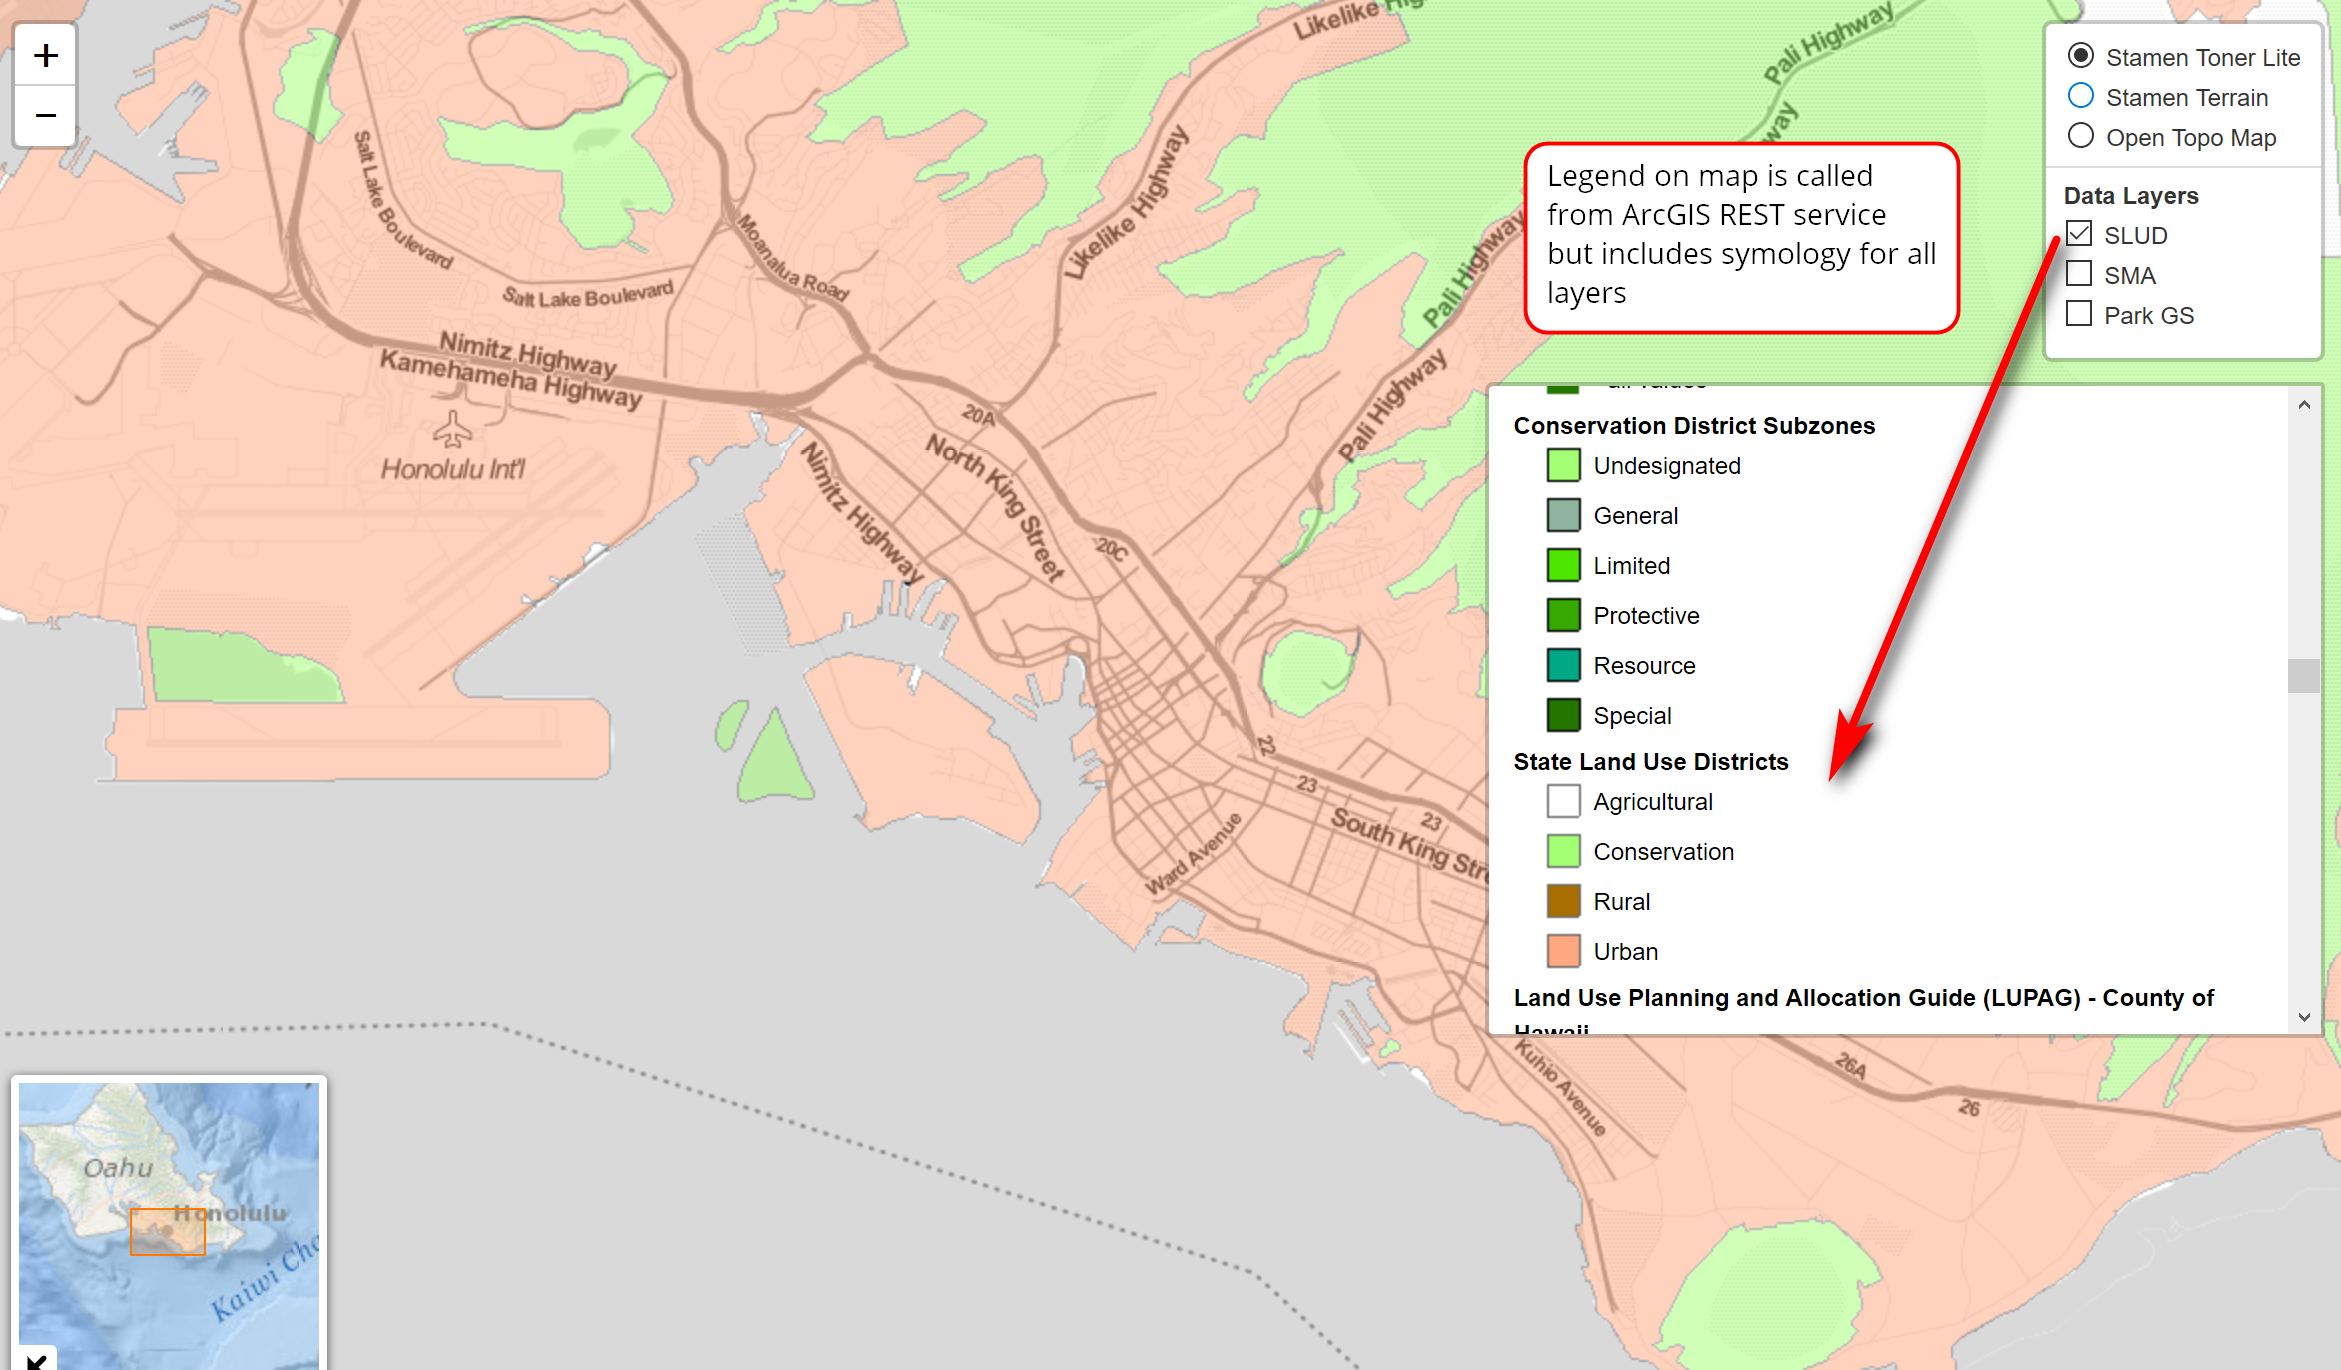
Legends are harder to implement than it seems. I didn't include legends on the demo web map, but I have tried adding legends from ArcGIS and GeoServer. See images below.
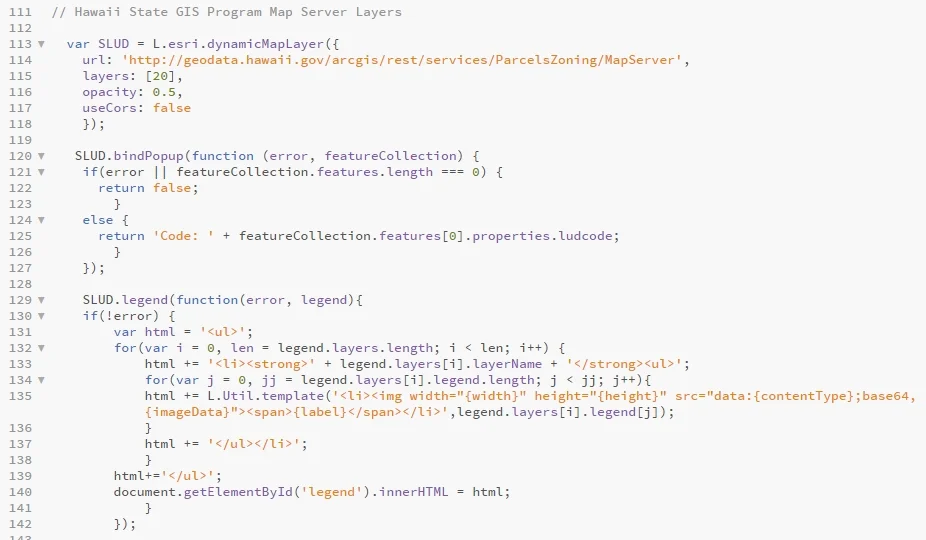
I've used this ESRI Leaflet Legend plugin to call a legend for a feature service. Below is a a example code snippet for calling ArcGIS REST Legend. I didn't go any further than just trying to see if it'll work.
ArcGIS REST Legend displayed on map, but not exactly working the way I want it to.
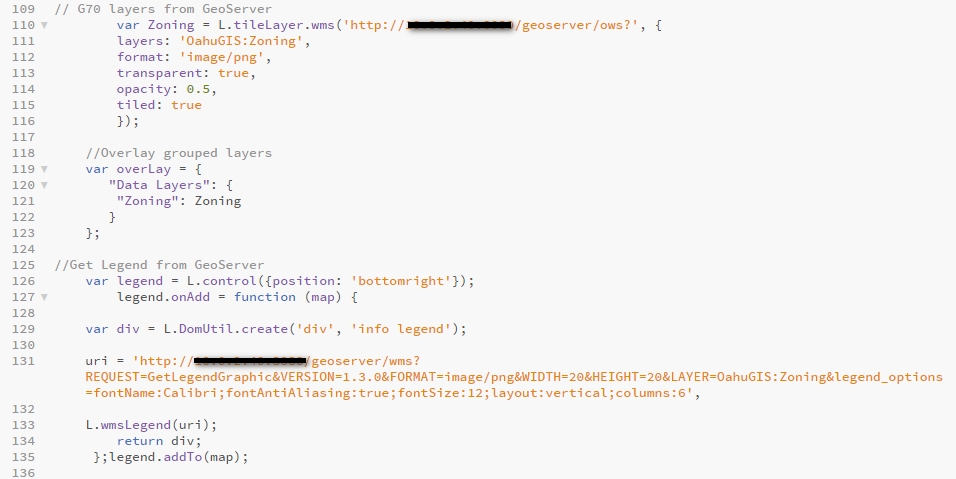
Here is another code snippet for displaying a legend from a Geoserver WMS using the Get Legend Graphics request. This is calling from an in-house geoserver I set up.
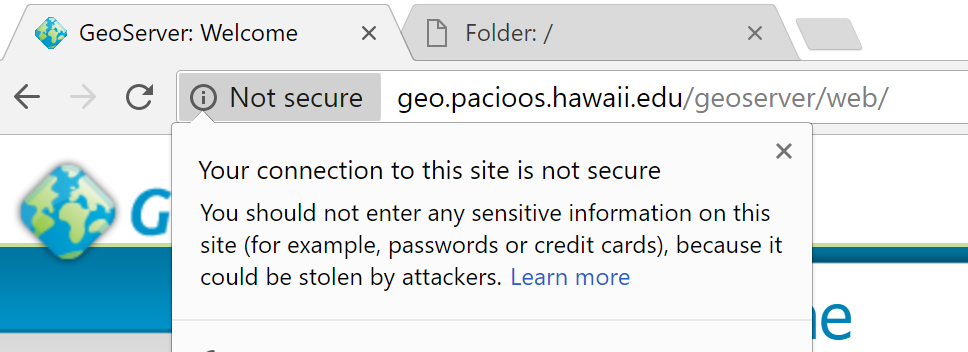
Secured (https) and unsecured (Http) items
I have the demo leaflet web map hosted on GitHub - which is free to use if the repository is public, and by default will be secured. When I access the demo site, I get the warnings:
Internet Explorer: This site contains both secure and nonsecure items. Do you want to display the nonsecure item?
Firefox: Parts of this page are not secure (such as images)
Chrome: This page includes other resources which are not secure.
This warnings occurs when items on the following web site (frames, images and other objects) are referenced in a non-secure manner (http). For example the page code might include an image or code that pulls from a non-secure URL. Both the PacIOOS GeoServer and Hawaii Statewide GIS ArcGIS REST services unsecured - on http , so hence the warning messages. However, I noticed though that features from the PacIOOS unsecured geoserver will still display on the web map but not features on the ArcGIS REST service - snapshots are shown below.
PacIOOS Geoserver is unsecured (hhtp)
Hawaii Statewide GIS ArcGIS REST service is unsecured (http)
Leaflet web map hosted on secured site (https) but referencing items from unsecured (http) sites (PacIOOS and Hawaii State GIS).
Solution is to use one of the following:
Link to https explicitly:
Some websites will use both http and https. If you can access the items by using https then use that instead. Testing explicit https, I was able to access the Hawaii Statewide ArcGIS REST services (https://geodata.hawaii.gov/arcgis/rest/services) but not the PacIOOS Geoserver (https://geo.pacioos.hawaii.edu/geoserver)
Use relative linking if on your own domain
Use protocol relative linking to use images/items from other domains. This is the option I used in my Leaflet example, like so:
This works: '//geodata.hawaii.gov/arcgis/rest/services/Terrestrial/MapServer/34'
This does not work ( at least not from GitHub https, but it works locally when I do live preview locally from Brackets): //geo.pacioos.hawaii.edu/geoserver/wms?
So I kept the URL for the PacIOOS geoserver WMS as http as it displayed on the web map.
That's it for this post. Thanks for reading.

